I just built myself a custom lunchbox camera case for a fraction of the cost of what I would pay someone else to do it. And then I built a second one. And I did it with vintage lunchboxes. Could not be more pleased with the results. These are exactly what I’ve wanted for years. Below are the details on their origins, how I built them, and next steps/considerations going forward.
Cases contain:
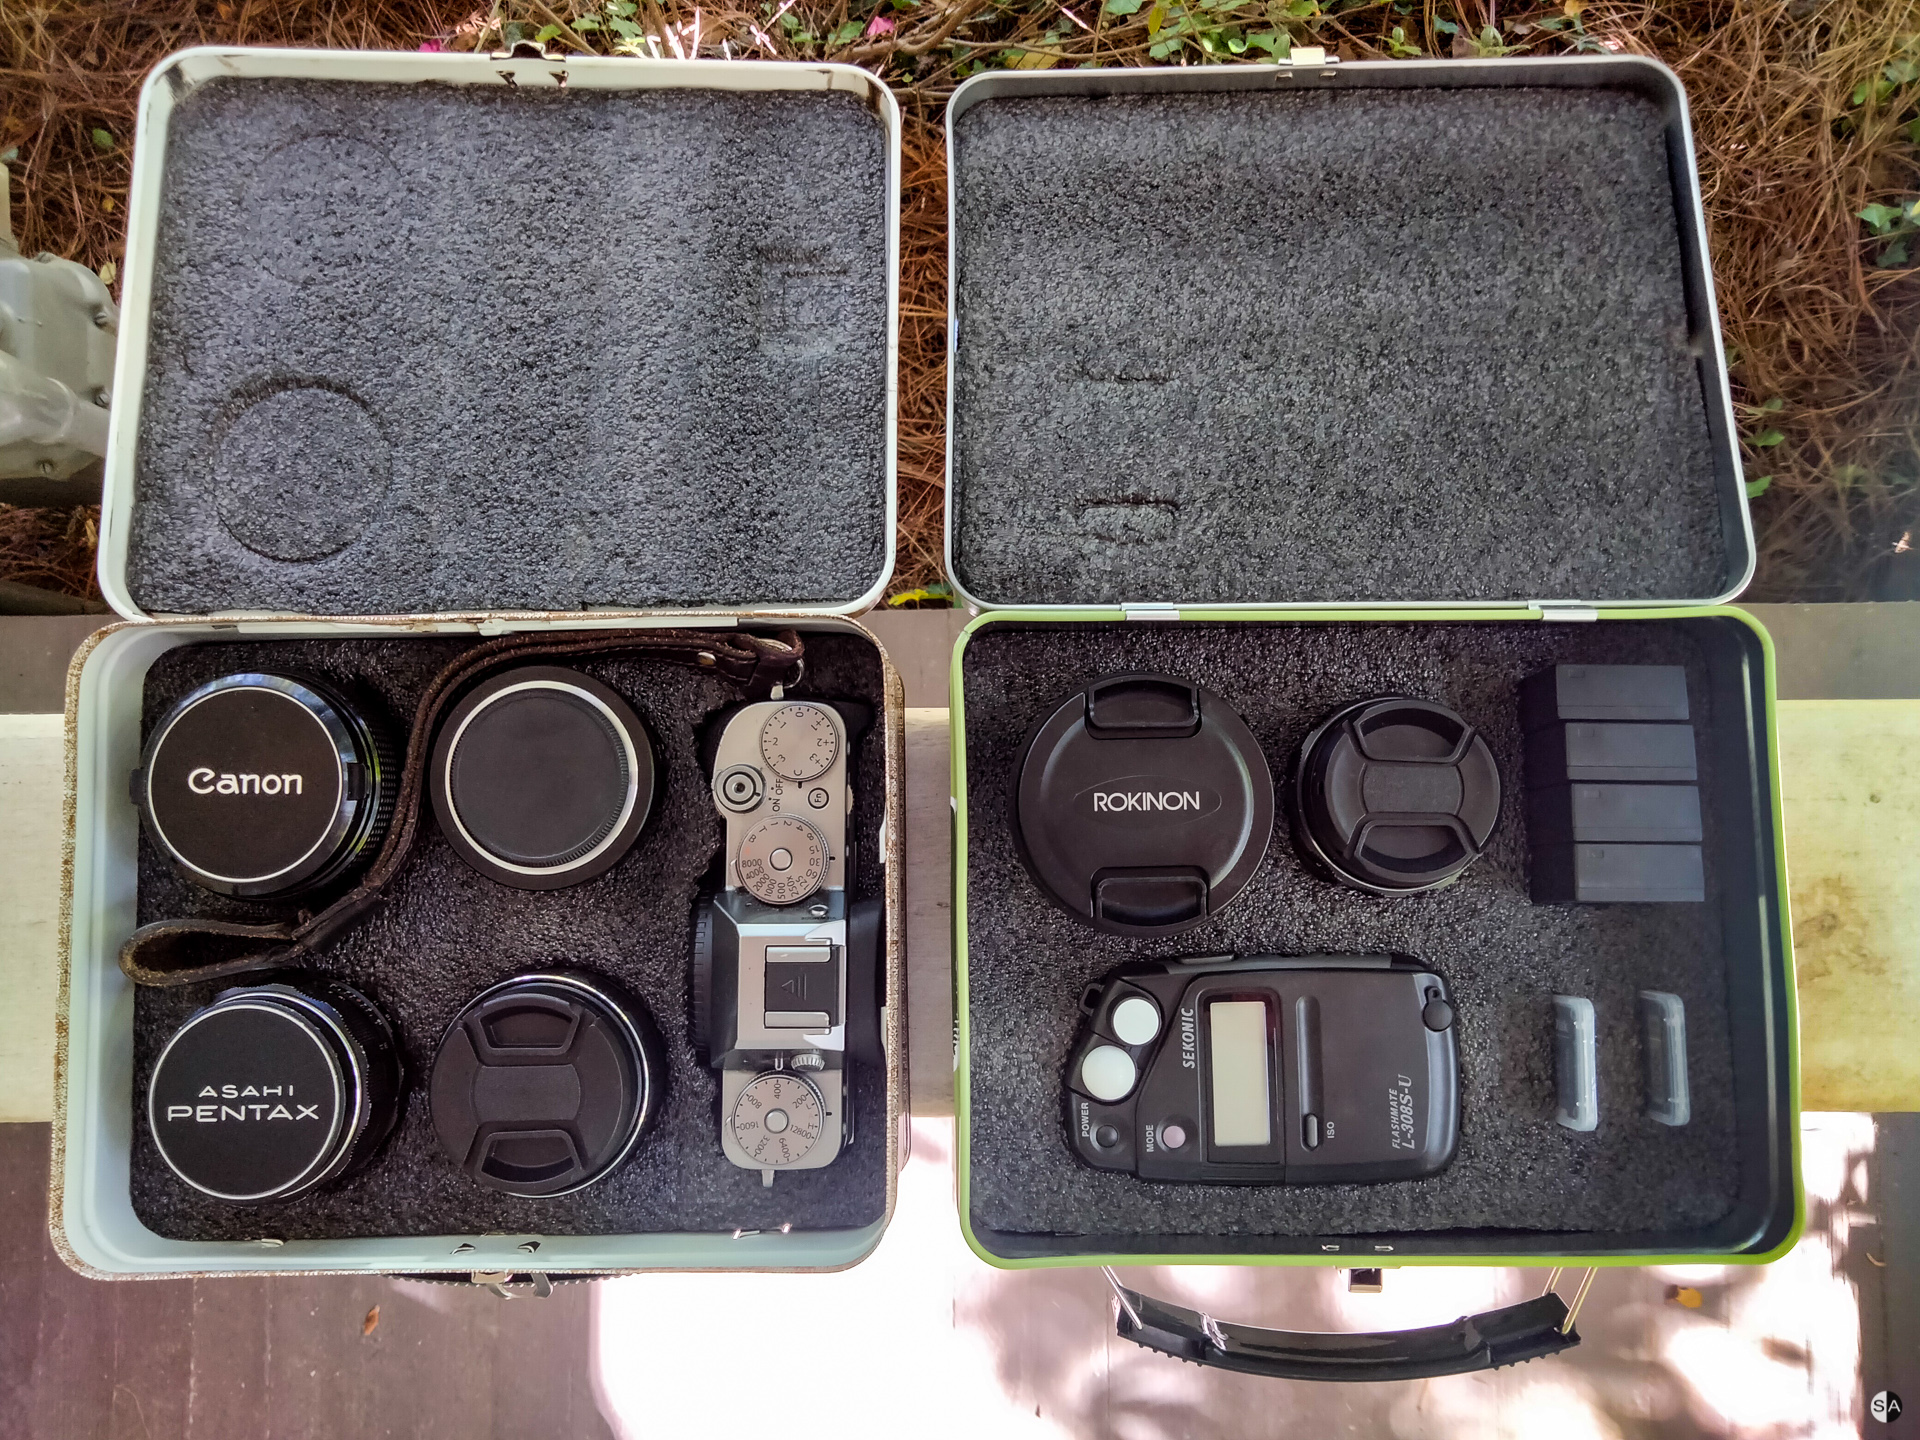
- Fujifilm X-T2
- Canon FD 24mm f2.8
- Helios 44m-4 58mm f2
- Pentax Super Takumar 50mm f1.4
- Pentax Super Takumar 35mm f3.5
- Rokinon 18mm f2
- 2 X Zhongyi Lens Booster II M42-X-mount adapters
- 1 x Zhongyi Lens Booster II FD-X-mount adapter
- Urth M42-X-mount adapter
- Sekonic L308S-U light meter
- 4 X Batteries
- 1 x 128GB memory card
- 1 x 64GB memory card
When the light went on
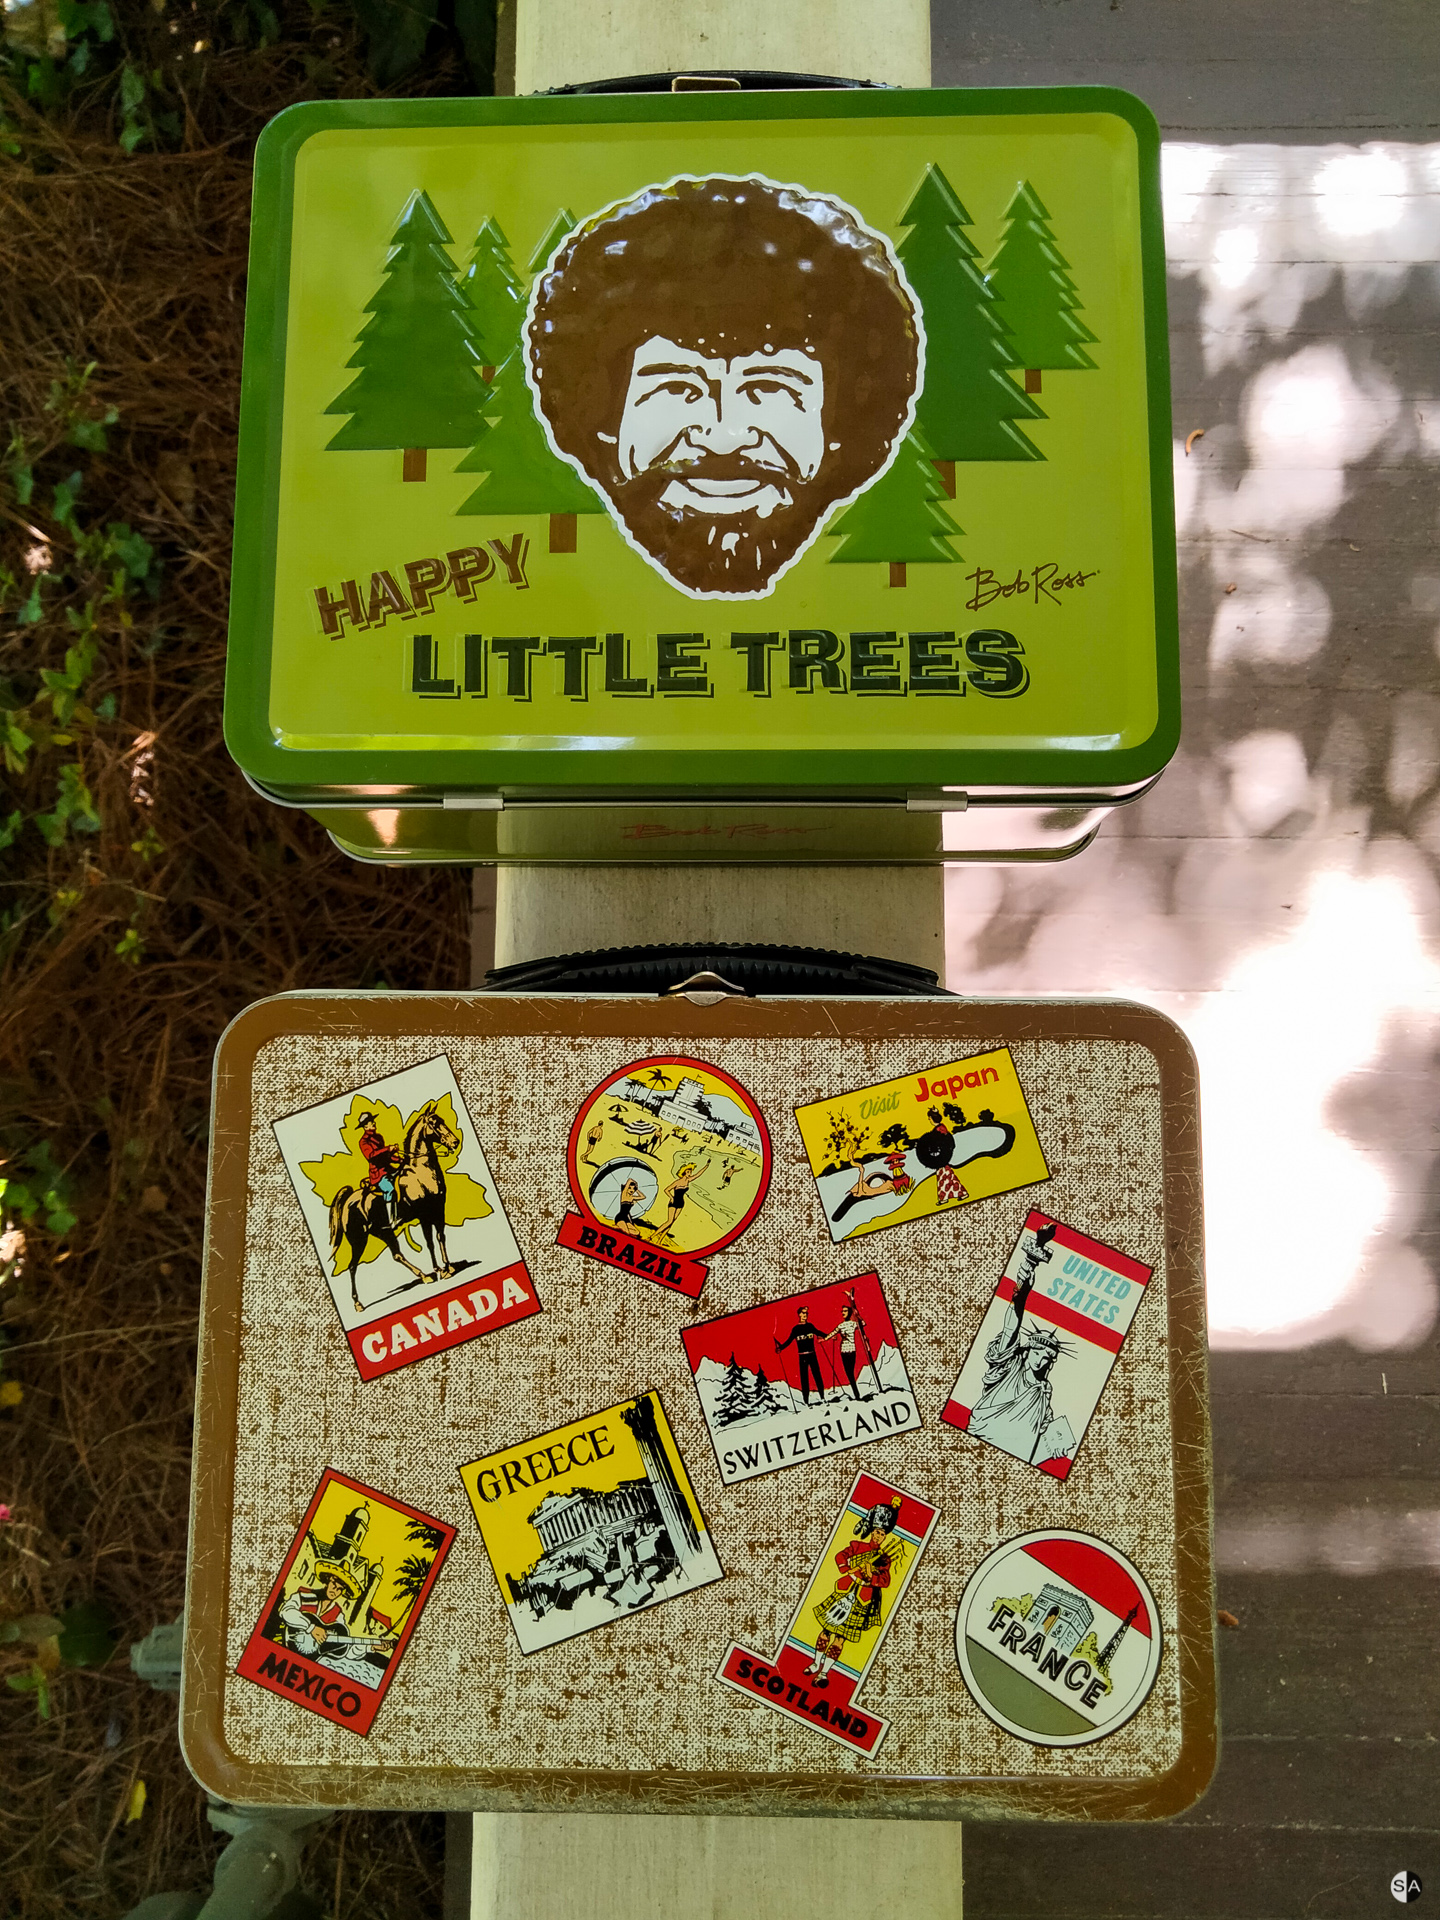
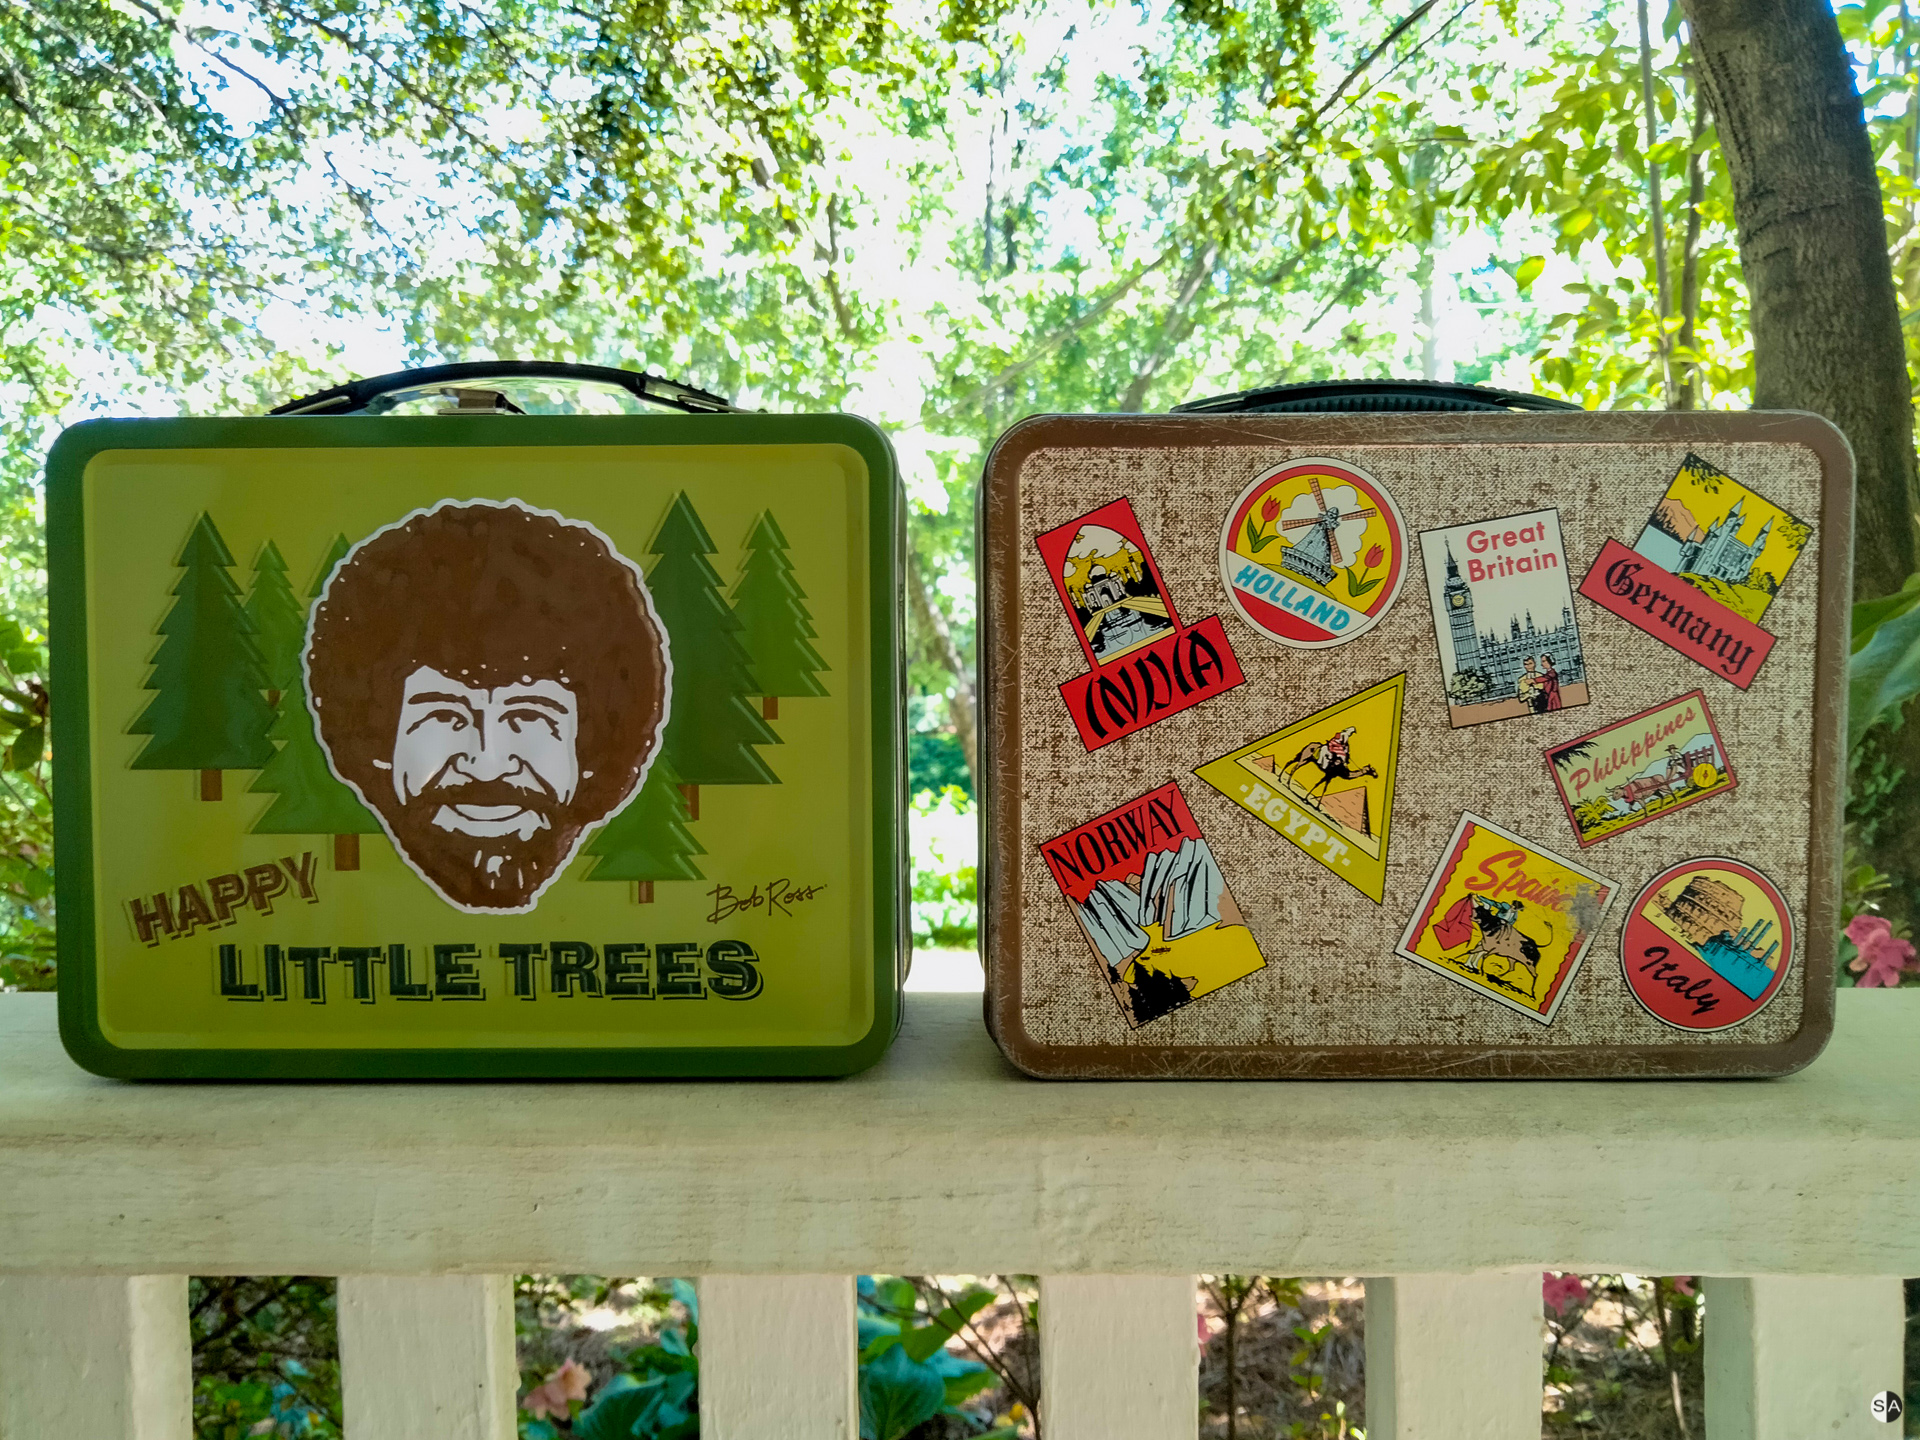
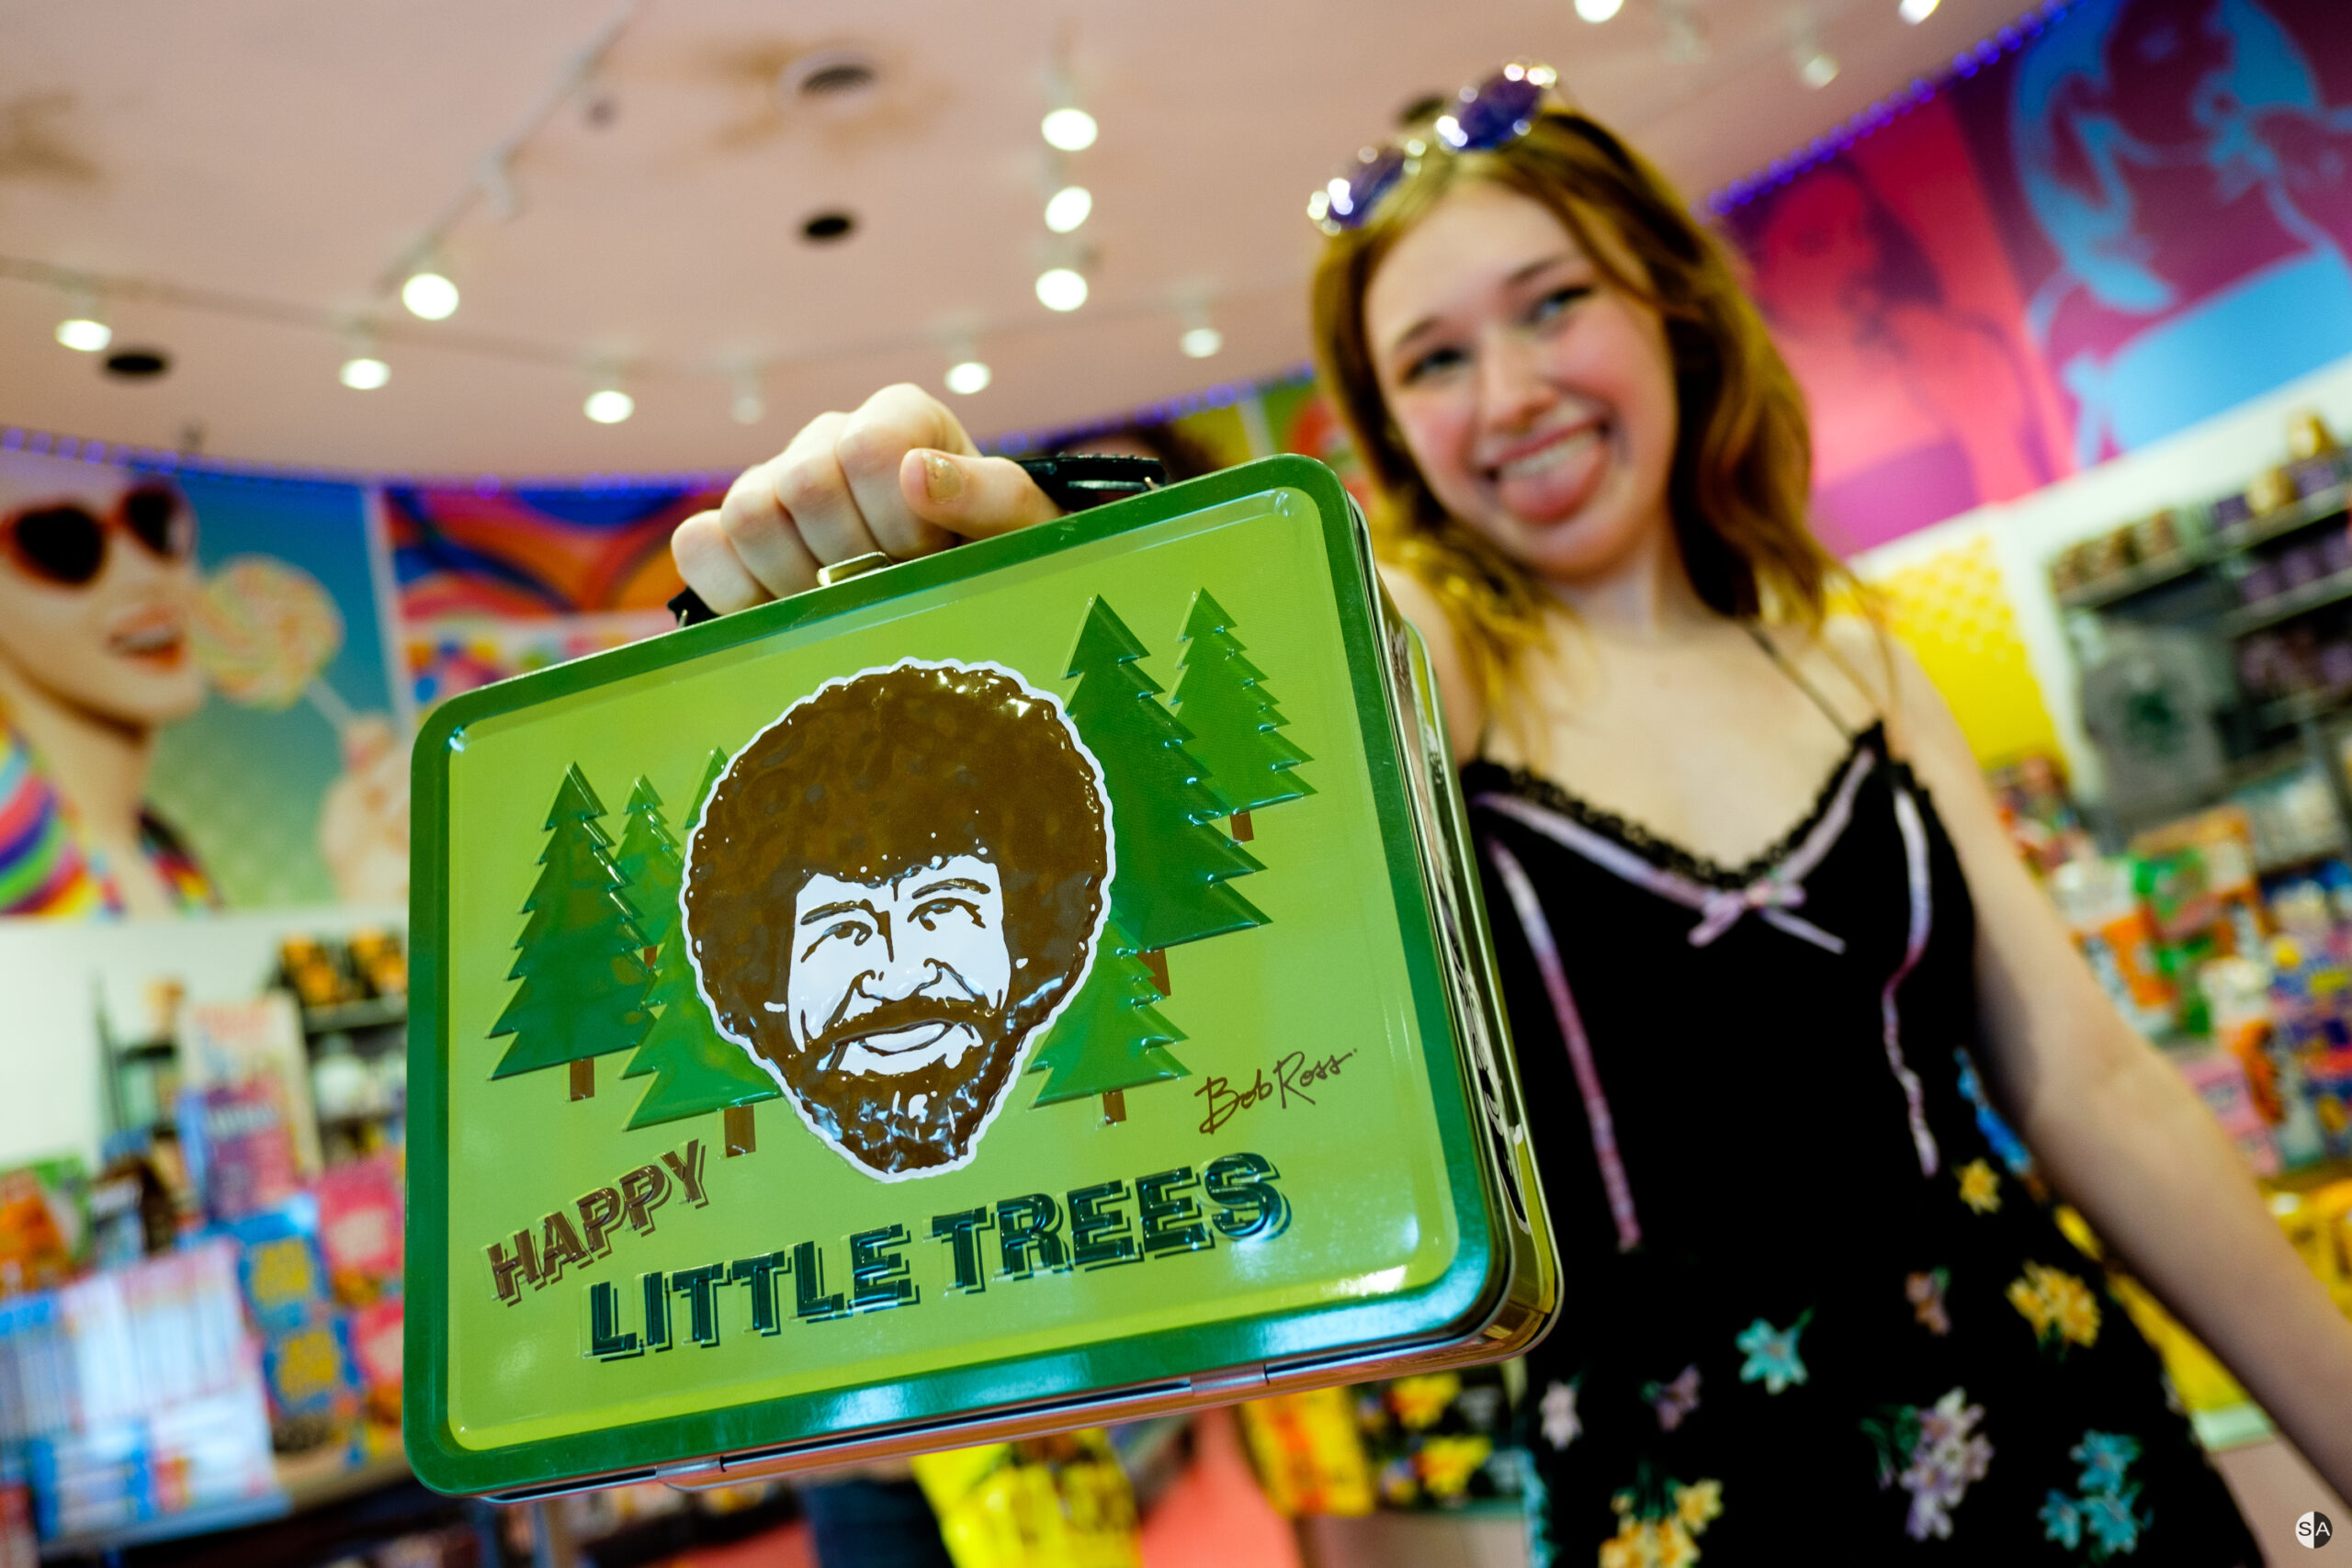
Back in the summer of 2019, I was at the beach shooting for a couple of days. Wandered into a candy store after lunch on the first day where Care found a Bob Ross lunchbox. My first thought was, “That would make the perfect camera case!” So I bought the lunchbox and it sat on a shelf until recently. Once I decided to mix up my lens game and knowing that the lenses wouldn’t likely change anytime soon, it was time to build the case.
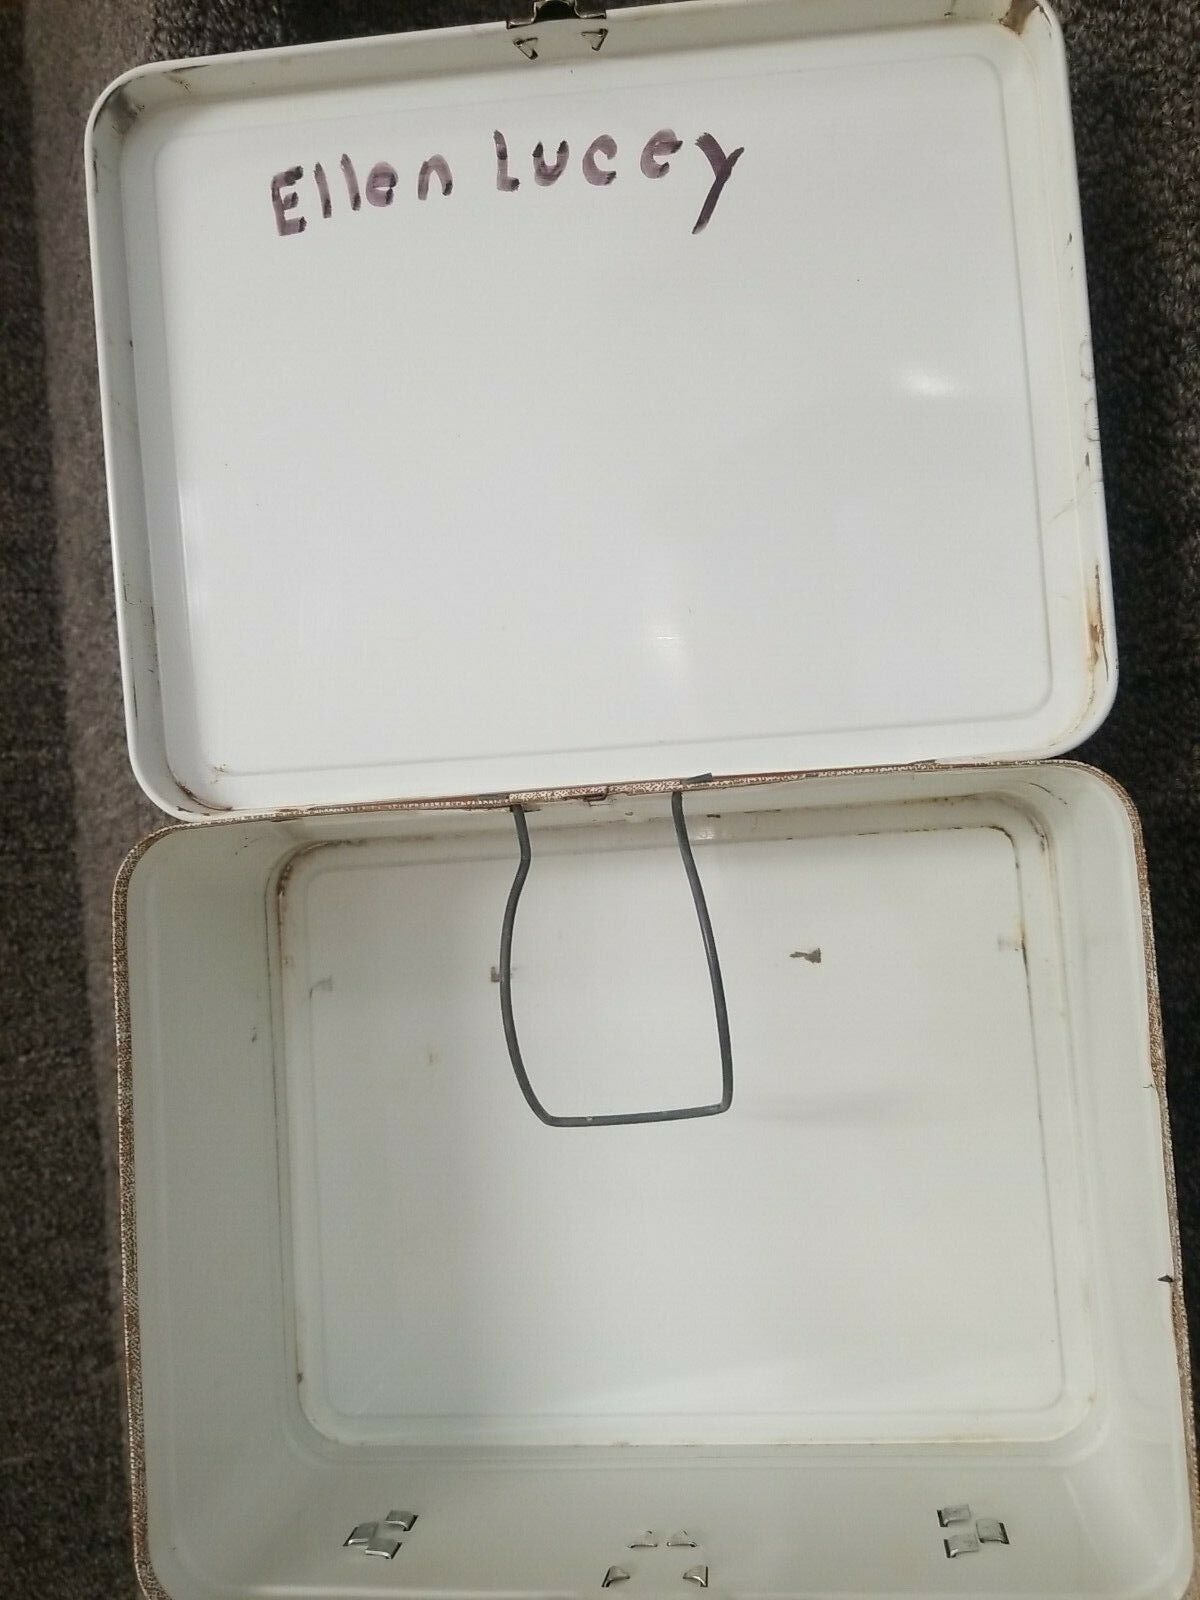
And then I realized I’d need two. Went to eBay and naturally found a gold mine of vintage lunchboxes. I ended up buying the one you see pictured both for the style and because of the simple pureness of the handwritten name inside and the mystery of the story behind it. I wonder if little Ellen Lucey picked out her own lunchbox, hoping to one day explore the world or if her parent(s)/guardian bought it for her as a gift, inspiring her to later become a jet-setting world traveler. What’s the story? The world may never know. (But if you’re Ellen Lucey and this was your lunchbox, contact me and tell me!)
But did I need a case?
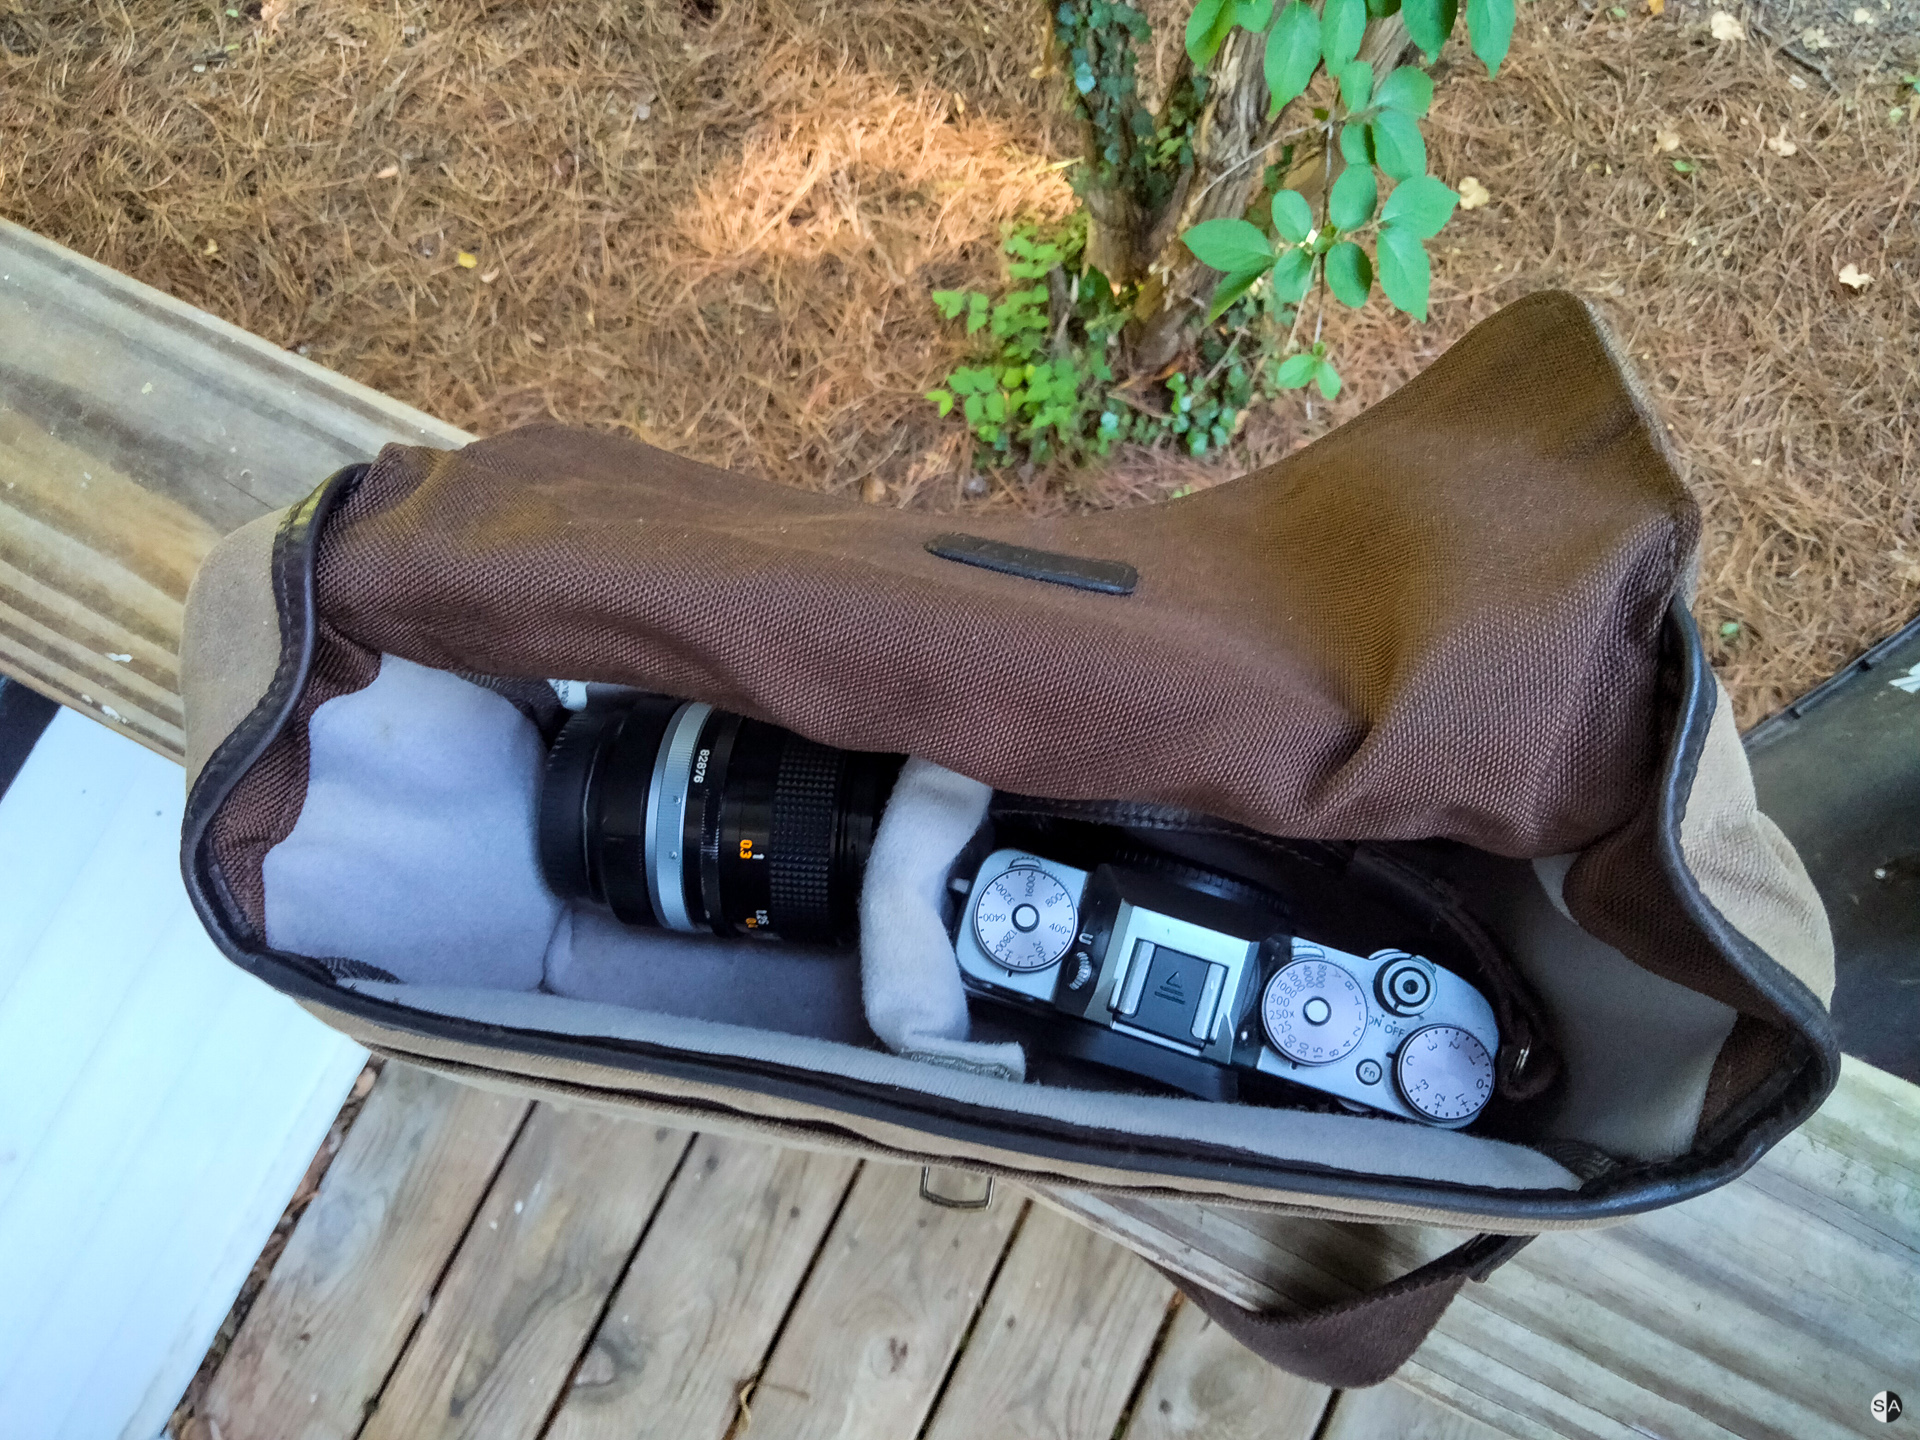
Yes. Since I switched over to my Fujifilm X-T2 back in 2016, I’ve been using the Bowery bag from Ona for carrying the basics. It’s not a large bag but it’s perfectly suitable for walking about. I love being able to reach down into when it’s hanging off my shoulder, grab my camera, take a shot, and put it back. For a walkaround bag, it’s great. And I love the styling. It’s not great for holding a lot of gear, though.
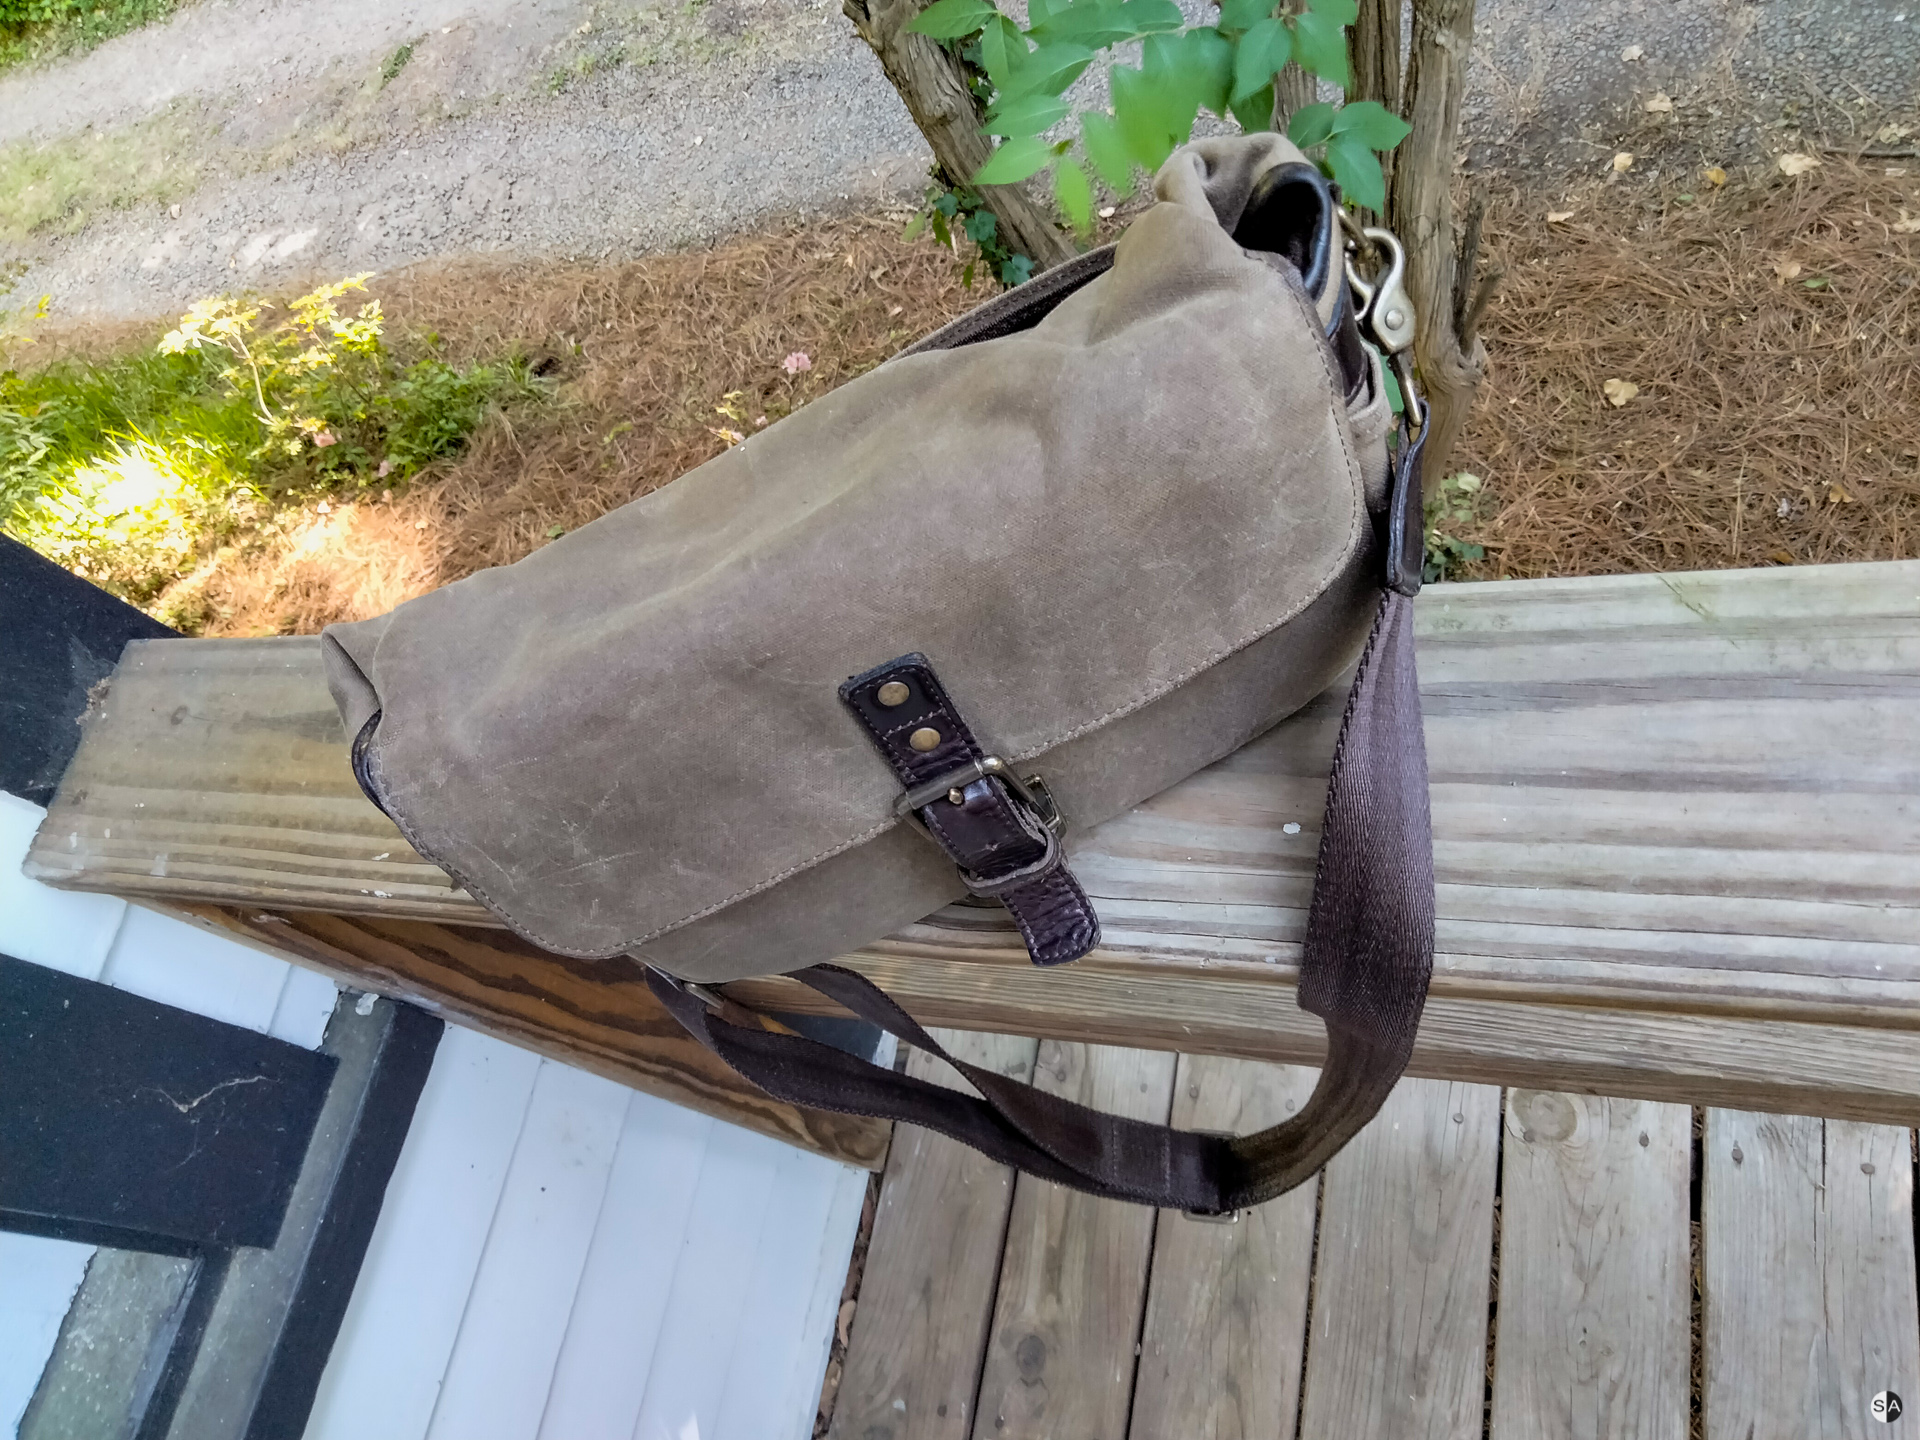
In the past, when I’ve had a shoot away from home, I have packed my bag with a camera, a couple of lenses, and maybe batteries if I had caps on the lenses. Because it’s pretty compact, I then put it into a larger backpack and filled that with remaining gear/wardrobe/accessories I’d be using. Having the basics in the Ona bag, I could get to what I would most need. Just gotta remember where the memory cards and batteries are.
The problem was that everything was thrown in however my mind thought it should go in at that moment. It was disorganized and inconsistent. And it didn’t hold everything. (And where are the memory cards and batteries again?) The bag wasn’t designed to function as a carry all to take on shoots but more of a casual everyday bag. I’ve really needed something else all along but have just made do with this simple, beautiful little bag.
Building the Lunchbox
A couple of months ago, I decided to switch out the two lenses I was primarily using and get all “new” lenses. With that change, it was time to build out the case. And after looking at the gear, I thought, “Well, everything isn’t going to fit in one. Why not build two and just have everything exactly the way you want it? This is your party. You do what you want!”
After doing a little research, I found that Kaizen foam was the material to use for inserts. With the lunchboxes measuring roughly 6 3/4″ x 8 1/2″ (17cm x 21.5cm), I went with a 2ft long section of 2 1/4″ (57mm) thick foam. That would be thick enough to hold the gear while leaving ample room for it to protrude out of the foam. And the width/length dimensions of the foam ensured I’d have enough for three inserts. Realized I didn’t actually own a a utility knife so I bought one of those, a ruler, and some Gorilla glue to hold the foam to the case. Oh, and also, very important: a pen to make the outlines.
From there, it was a simply process of cutting the basic blocks that would fill the cases, laying out the gear on top of how I wanted it within the case, tracing the outlines, and then making the cuts. The nice thing about the pen (and definitely get the silver ink one if you do this), is that it wipes away with a damp paper towel really easily. And the long nose makes it really easy to use, especially if you’re tracing everything all at once. I debated making a video of me crafting the cases and cutting the foam but there are plenty of tutorials showing you how to do this. Which is exactly how I learned so why mess that up? 🙂
The other thing of note is you don’t have to go crazy with the glue; the foam is going to suck it all up and expand into it.
I couldn’t give a proper estimate on how long it took because I was forever getting sidetracked but it was pretty much no time at all. I actually made a third inset last night to replace the first one I made and was done in a couple of hours. But even that timeframe is longer than it actually took because I got sidetracked more than a couple of times yet again, doing other things.
The Cost
I now own custom “hard cases” to hold my camera gear. Everything is in its place, easily accessible and protected. And at minimal cost. The lunchboxes set me back about $20 each (including shipping on Ellen Lucey’s World Traveler lunchbox). The Kaizen foam was $30. Utility knife, ruler, and glue came to roughly $20. So all in for $90. Well under half of the cost of my walkaround bag that was never designed for doing exactly what these hard cases were purposefully designed for. A larger bag, not even a hard case, would be substantially more. By any manufacturer, not just Ona.
Next Steps and Considerations
I’m really very happy with the layout. That said, I’m going to replace these two inserts with different ones at some point. Not because there’s anything functionally wrong with them, but I would like for them to be a little more refined aesthetically.
About halfway through the first case, I realized that buying a hot knife would’ve been a better investment than just using a utility knife. There’s one I’m eyeballing that’s around $30 and does better precision cuts without the messiness of the rough cuts you’ll most definitely get using a utility knife.
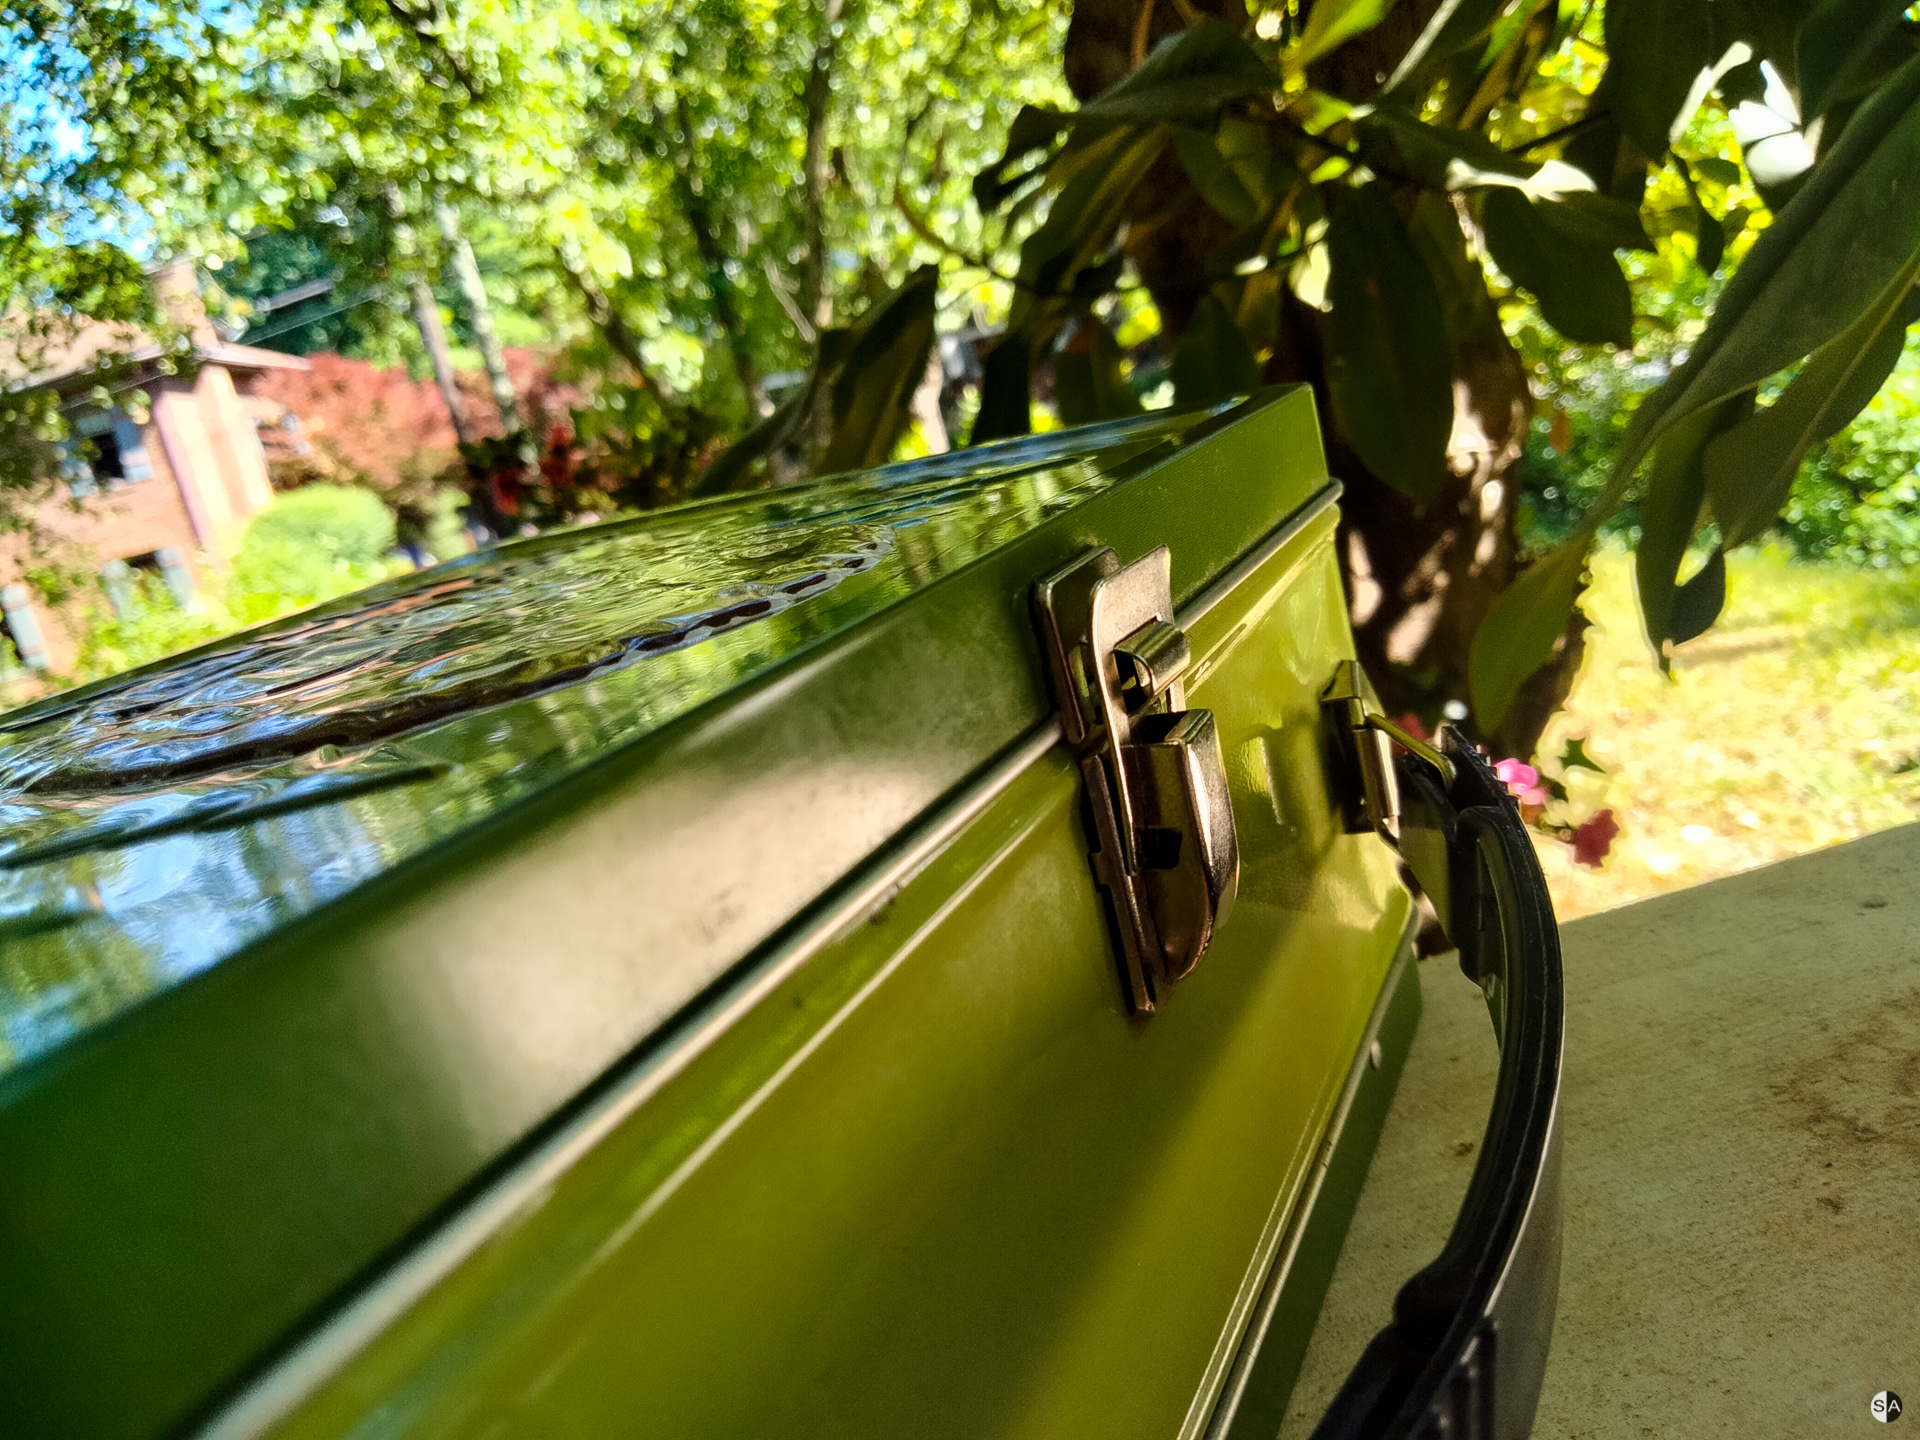
There’s one other enhancement I want to make to the cases and that’s to attach a little wire loop to the latch to keep them from accidentally coming open while in transport. Even with them opening accidentally, the items within are pretty secure. Anyway, Amazon has them for about $7 for a pack of 12. The Bob Ross lunchbox already has a hole for the wire to squeeze through and is adequately wide enough for the wire. The other lunchboxdoesn’t have a hole on the latch so I would need to drill holes into it.

I thought about attaching straps to the cases but likely won’t do that. These aren’t cases for walking around so straps don’t make sense.
The dimensions of the lunchboxes are great for what I use. Height-wise, it’s a tight fit for the X-T2 and likely impossible for DSLRs. Laying the X-T2 on it’s side would take up a little more real estate but might work better. Same for the lenses. I’m keeping adapters on two of the lenses so that’s eating up a little more depth in the case. Laying them on their side, though, would give them a little more breathing room. You can see the tightness by the foam on the lid. Also, the light meter could definitely be turned sideways to give more space. And those memory cards are just standing there in wide open foam desert, watching tumbleweeds roll by.
And that’s it!
Like I said, I could not be more pleased than I am with having built these! It’s nice to have the all of the equipment that I’ll typically use during a shoot organized and easily accessible. No more scrambling around trying to figure out where I put something. Still absolutely love my Ona bag; just the best for walking around. But for shoots, this is most definitely what’s up.
And no, I’m not the slightest bit worried about storing radioactive lenses in a lunchbox that most definitely contains lead. Maybe I should track down Ellen, though, see if she’s alright, just to be safe.
Bob and Ellen….quite the pair.
lol
Sesrch Facebook. Quite a few Ellen Luceys listed. I’d send them all a message with pics of the lunchbox.
That’s a great idea, Robert! I think I’ll do exactly that!